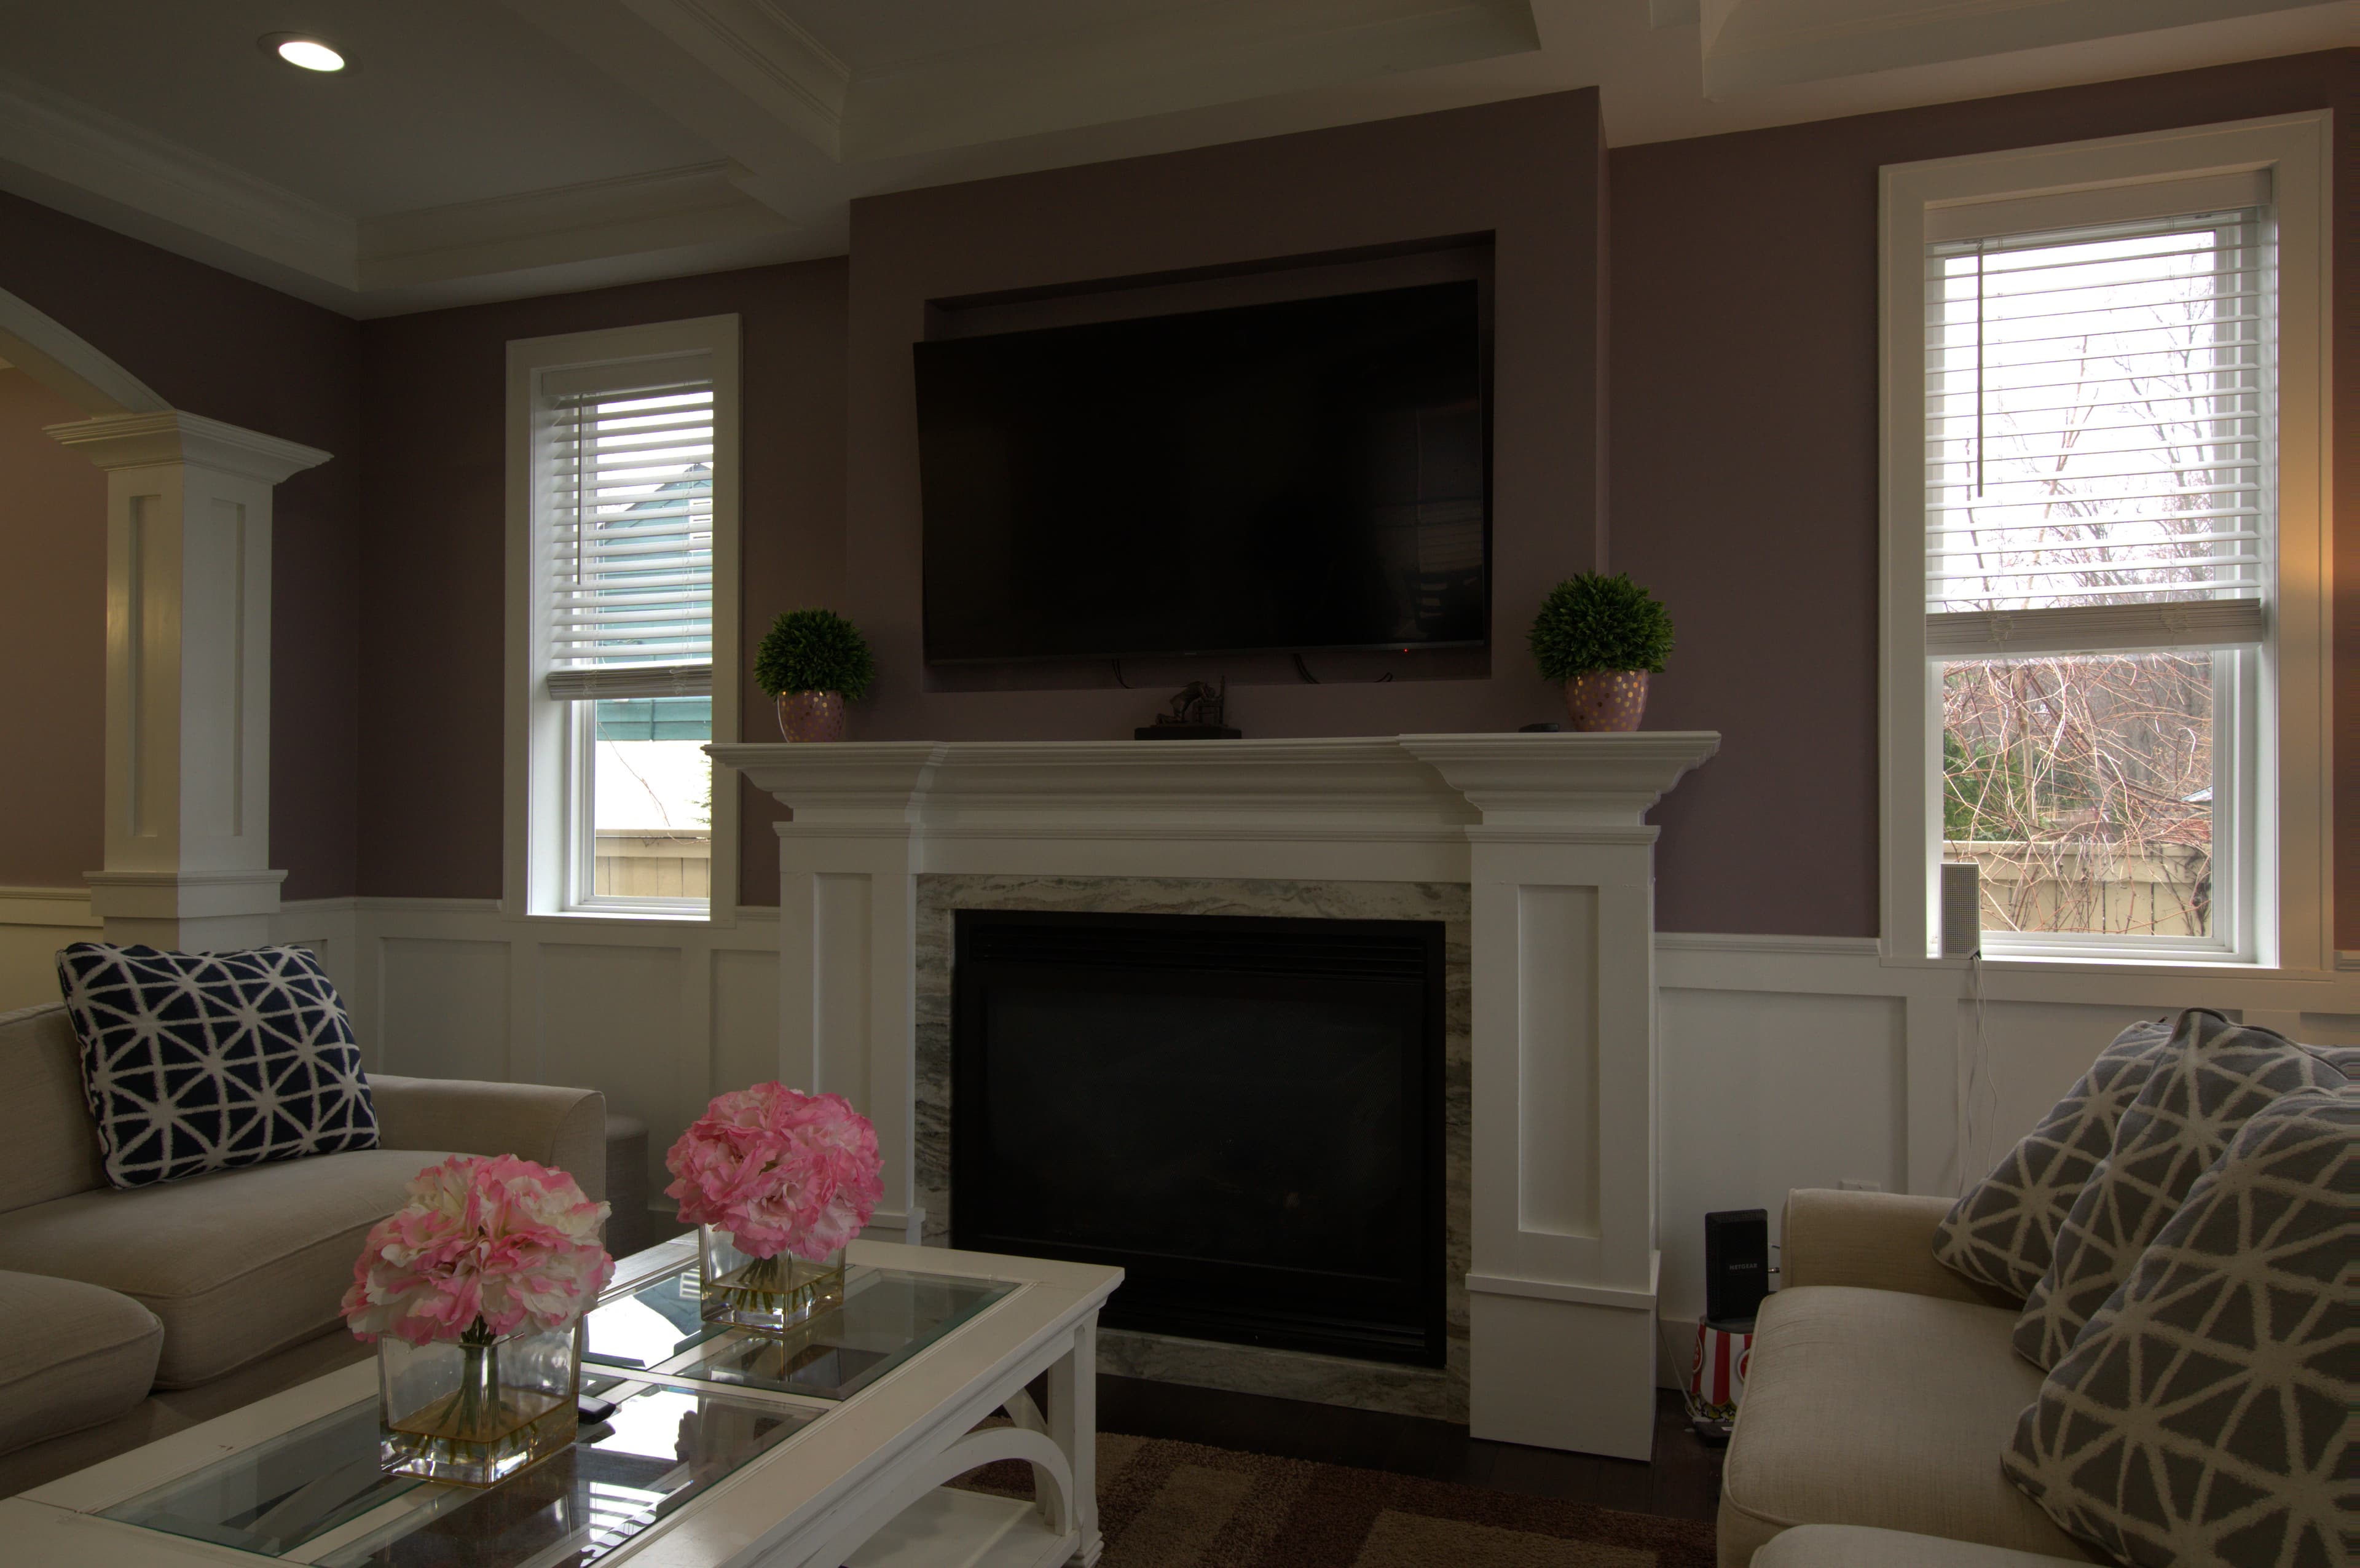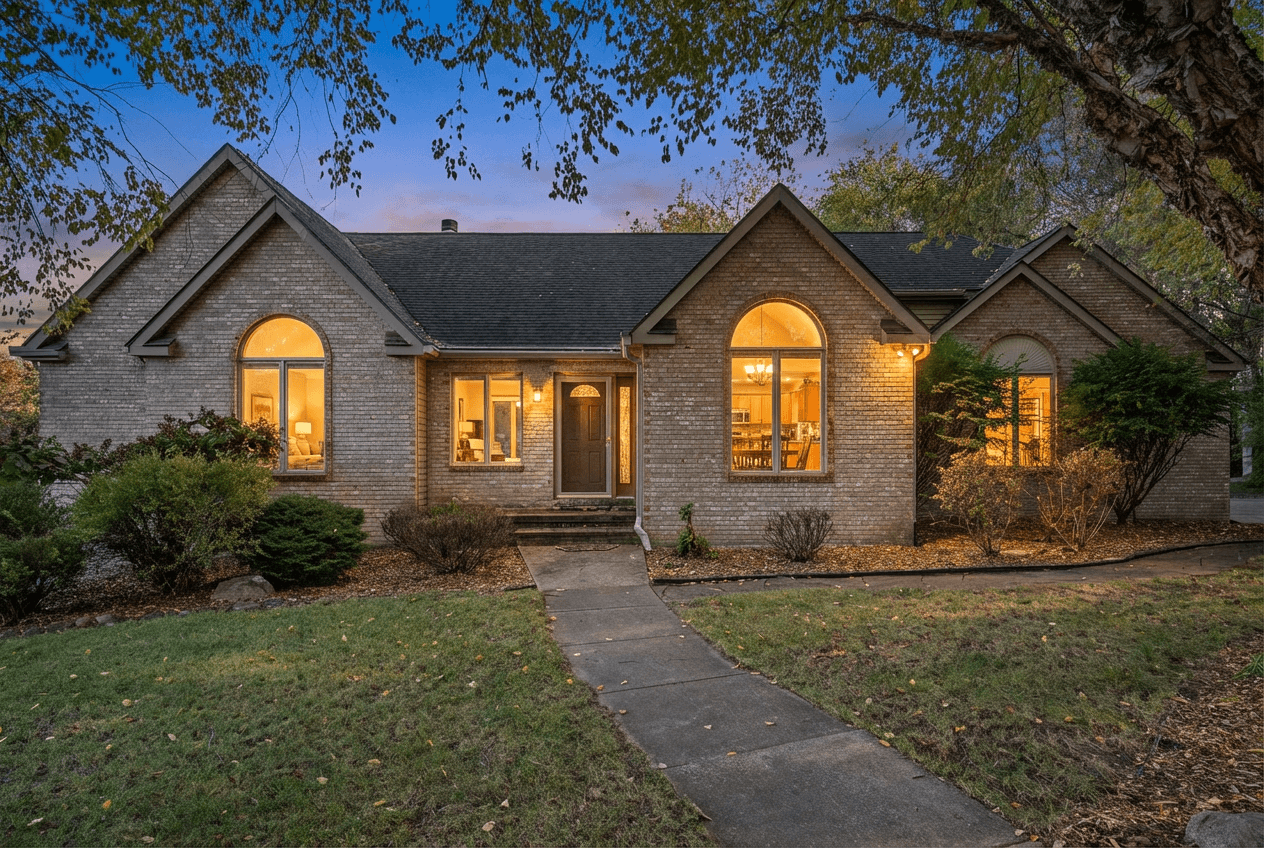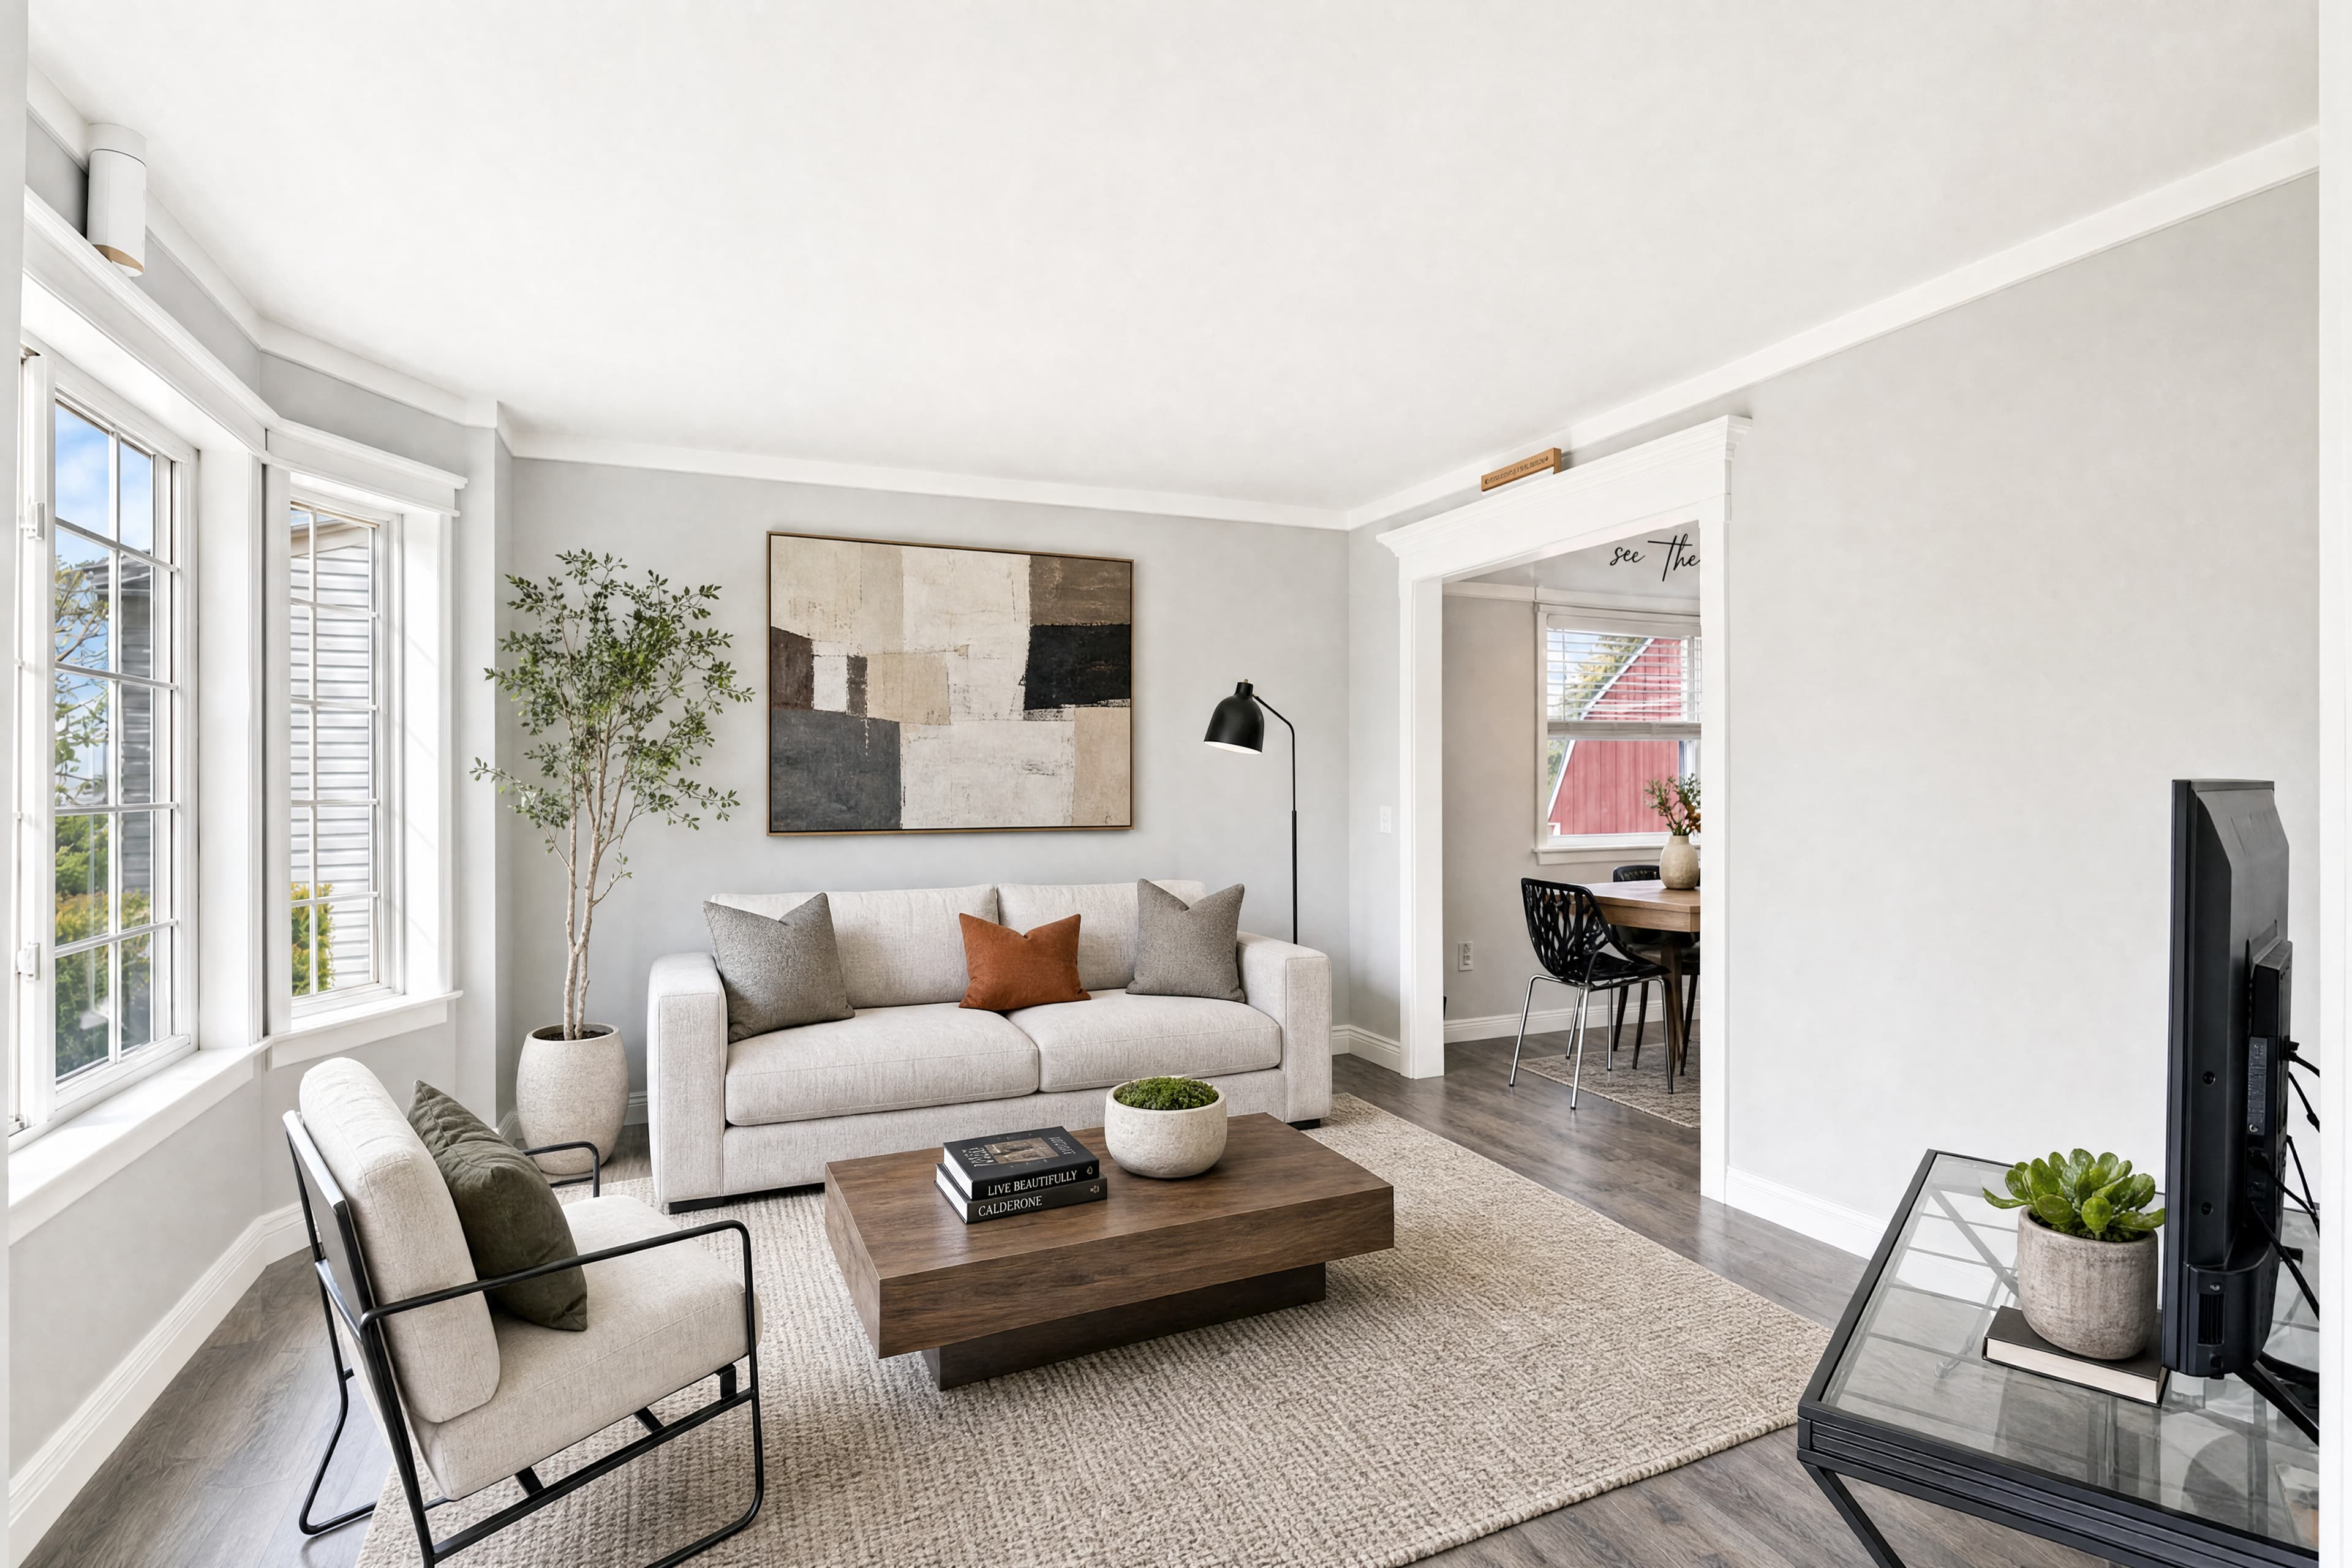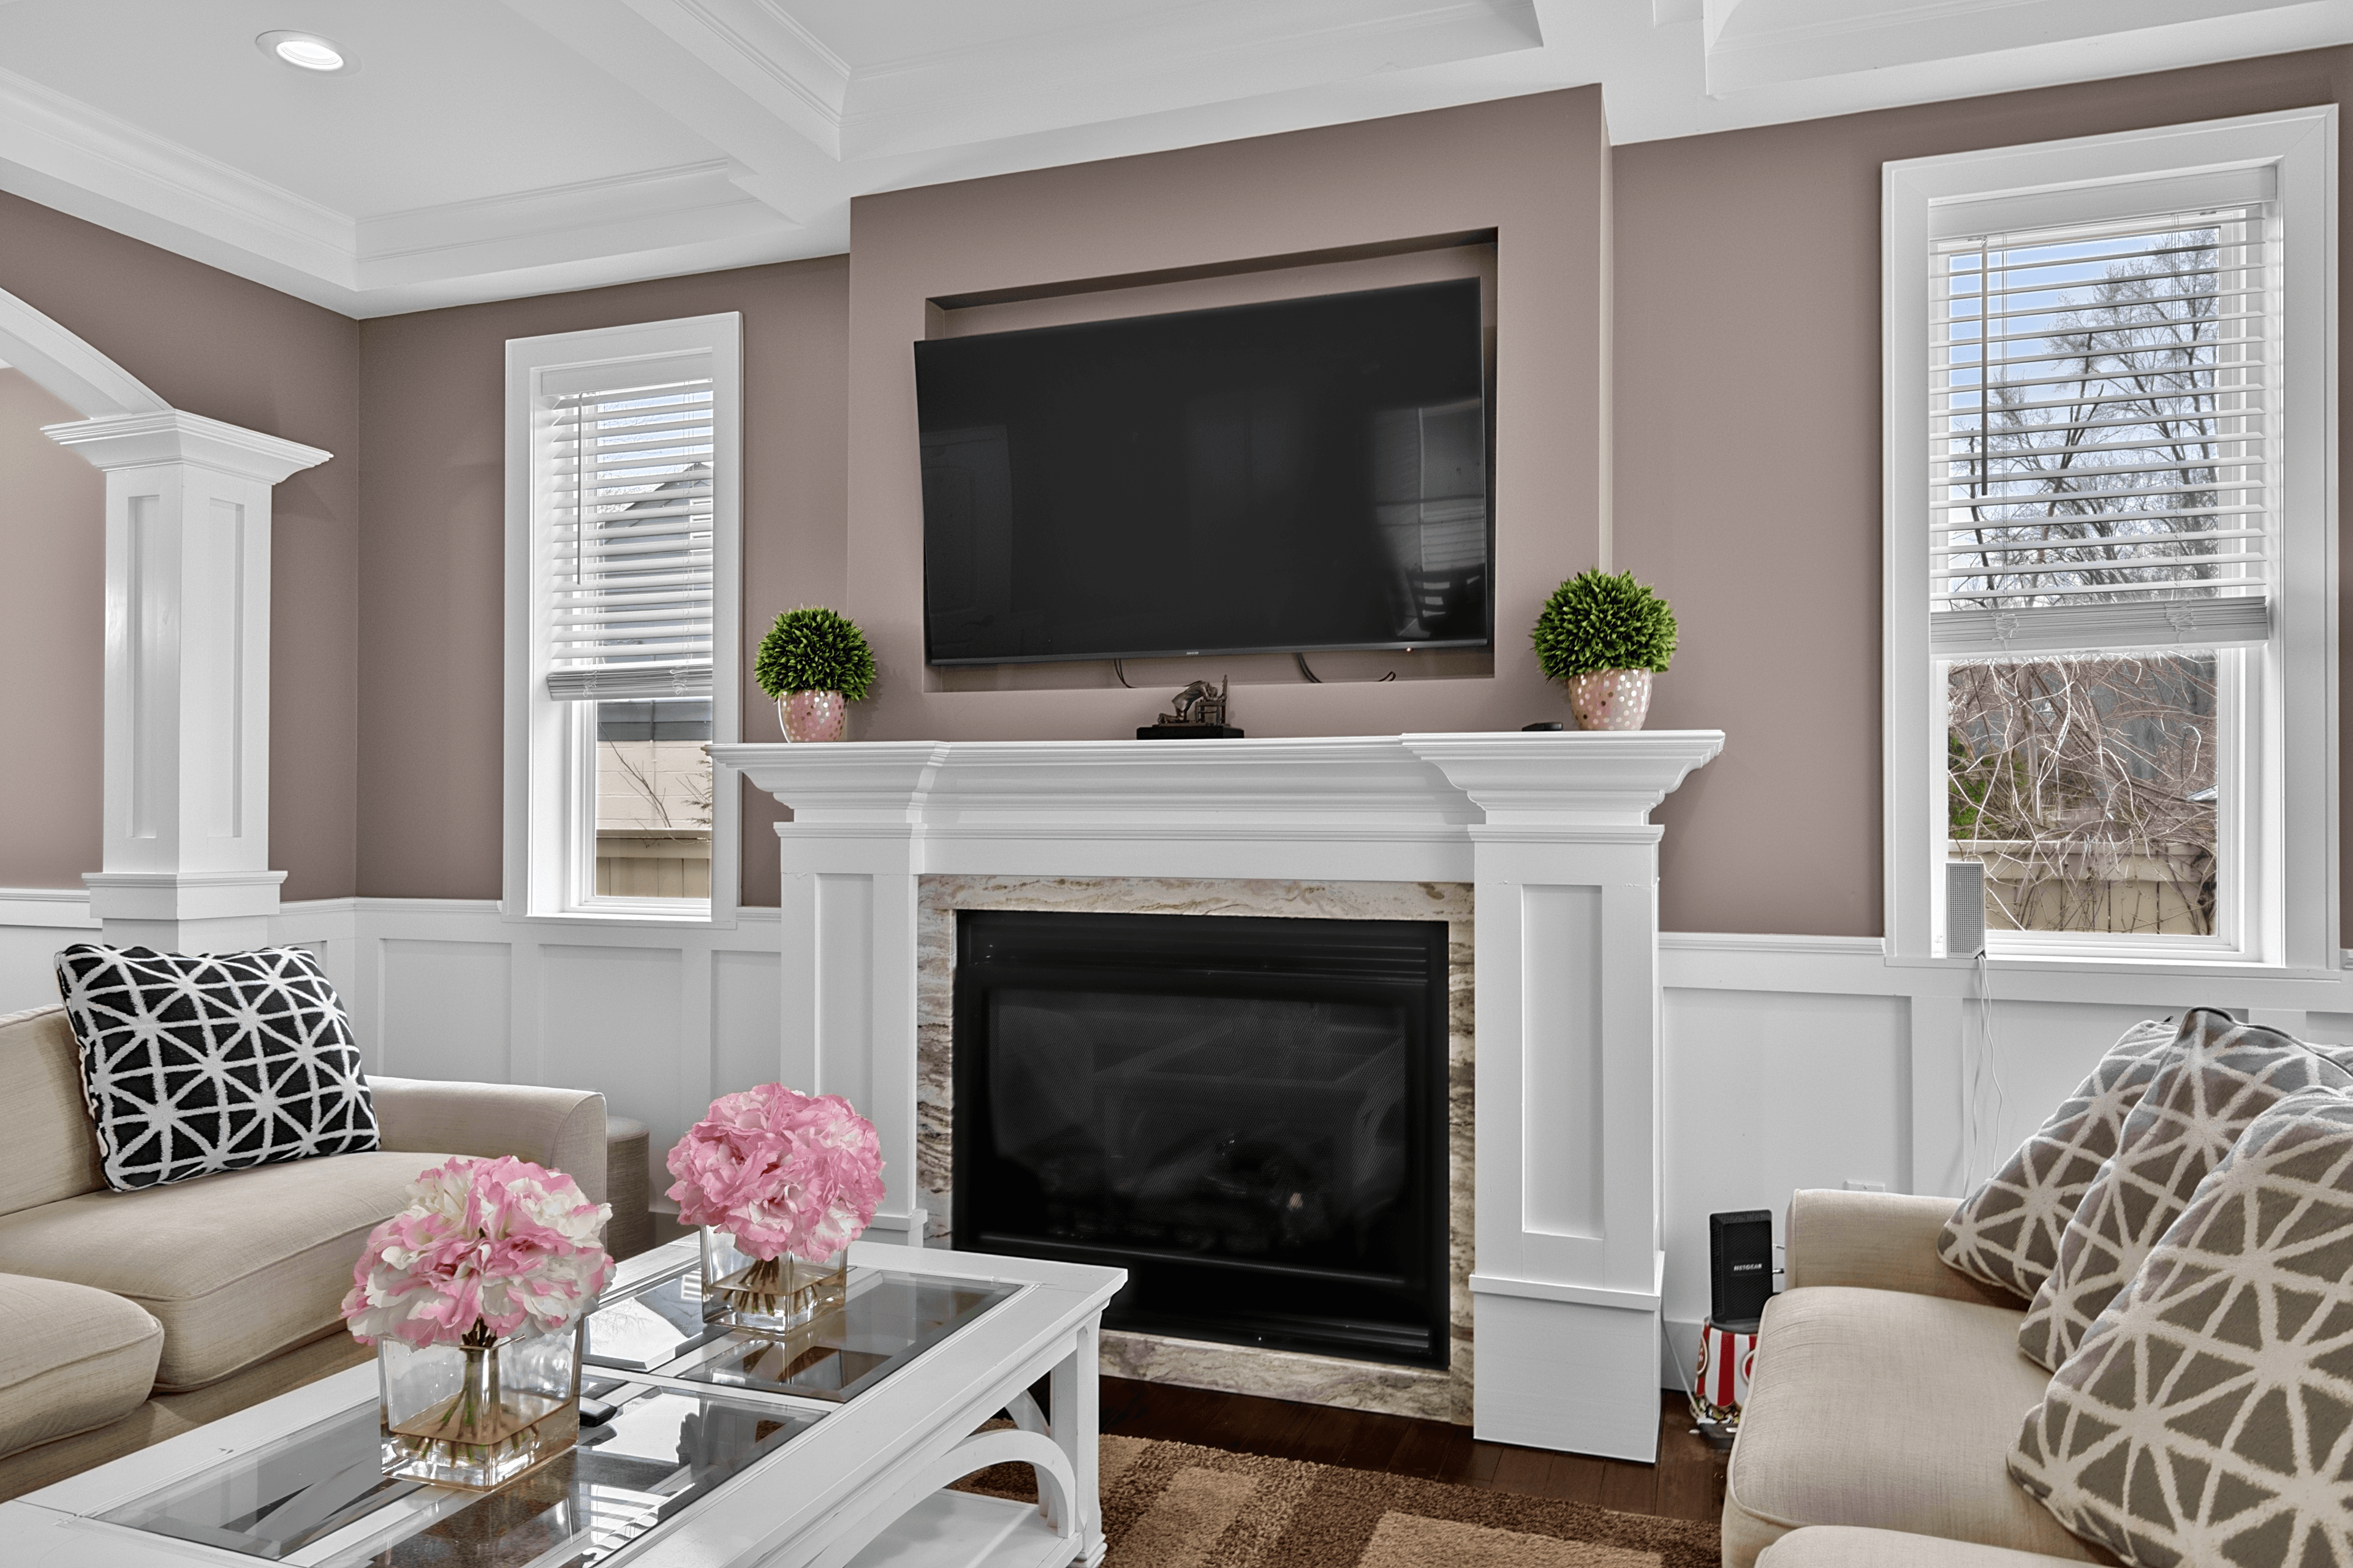
Walk into any well-lit room with a window and try to shoot a single exposure. Either the window is a glowing white rectangle and the room looks normal, or the room is muddy and the window shows a real view. Your camera can’t capture both at once. HDR fixes that.
What is HDR photography?
HDR stands for High Dynamic Range. You shoot the same scene at multiple exposure levels — typically one underexposed (so windows don’t blow out), one correctly exposed, and one overexposed (so shadows aren’t crushed) — then blend the best parts of each into a single, balanced image.
The result is a photo that shows detail across the entire tonal range — bright windows, dark corners, and everything in between — in a single frame.
Why does HDR matter for real estate photography?
Real estate interiors are one of the most challenging lighting situations in photography. You’re almost always dealing with:
- Bright windows or sliders that become pure white without HDR
- Dark room interiors that become muddy shadows without HDR
- Mixed light sources (daylight, tungsten, LED) creating color casts
- High-contrast scenes a single exposure cannot capture correctly
Without HDR you have two bad options: expose for the windows and lose the interior, or expose for the interior and blow out the windows. With HDR you expose correctly for both, simultaneously.
Why this matters
How HDR real estate photography works
Step 1: Shoot brackets
On location, you set your camera to Auto Exposure Bracketing (AEB). Most cameras can shoot 3, 5, or 7 exposures automatically in rapid succession — typically at −2, −1, 0, +1, and +2 stops from your base exposure. The camera fires all exposures in under a second, so a tripod handles any minor movement.
Step 2: Merge the brackets
The exposures are combined in software — traditionally Lightroom, Photomatix, or Aurora HDR. Each exposure contributes its best-exposed portion: the underexposed frame contributes window and sky detail, the base frame contributes midtones, the overexposed frame contributes shadow detail. The software blends these zones with smooth transitions.
Step 3: Window pull (essential, not optional)
A proper HDR merge for real estate includes window pull — the actual exterior view through windows blended naturally into the image. When done well, you can see the yard, sky, or view through the windows exactly as a buyer standing in the room would see it.
Traditional HDR vs. AI HDR merging
Traditional HDR is significant manual work: import brackets, run the merge algorithm, correct tone-mapping artifacts (halos, color fringing, over-processing), export. For a typical 25-room shoot, that’s 45–90 minutes of editing time.
AI HDR merging automates the whole process. Upload bracket sets, receive a professionally merged result in under 30 minutes — with automatic window pull, sky replacement, and consistent output across every image. No manual intervention.
What’s included with every AI HDR Merge job
One $0.59 charge runs the merge AND five fixes other services bill separately. Every one of these is bundled, no add-on surcharge:
- Sky replacement — flat or grey skies replaced with clean blue or twilight
- Fireplace fire — empty fireplaces detected and lit with realistic flame
- TV + appliance blackout — reflections on TVs, ovens, microwaves replaced with clean matte
- Glare + reflection reduction — hot spots on glass, granite, chrome flattened to a clean read
- Photographer removal — if you’re caught in a mirror or window reflection, you’re gone
How to shoot for HDR real estate photography
Use a tripod — always
HDR merging requires all exposures from exactly the same camera position. Even slight movement between frames creates ghosting. A tripod is non-negotiable for interior brackets.
Set your bracket increment correctly
For interiors, 1-stop or 1.5-stop increments work well. For extreme dynamic range (very bright windows in dark rooms), 2 stops per increment may be needed. Most cameras let you set this in AEB settings.
Shoot RAW, not JPEG
RAW files contain significantly more data than JPEGs, giving the merge algorithm more to work with. The difference in output quality between RAW and JPEG brackets is noticeable, especially in shadow and highlight transitions.
Stabilize your camera before shooting
Turn off image stabilization when on a tripod — IS/VR can introduce subtle movement between frames. Use a remote shutter release or 2-second timer delay to minimize vibration.
When to use HDR vs. single exposure
Not every photo needs HDR. Use it when:
- Windows are in the frame (almost all interior shots)
- The scene has high contrast between light and dark areas
- You need to show both interior detail AND the exterior view through windows
- You want window pull included automatically
Single-exposure editing works for:
- Exterior shots with even, good light and no extreme dynamic range
- Detail shots where HDR’s exposure range isn’t needed
- Situations where shooting brackets wasn’t possible
Camera dynamic range — why single-exposure photography fails interiors
Modern full-frame mirrorless cameras have ~13–15 stops of dynamic range at base ISO. A typical interior with daytime windows can have 18–22 stops of dynamic range between the darkest shadowed corner and the bright exterior through the windows. The camera physically cannot capture the full scene in a single frame.
HDR solves this by capturing separate exposures for different parts of the tonal range and merging them. The underexposed frame (2–4 stops below base) captures window detail without blowing out. The overexposed frame (2–4 stops above base) captures shadow detail in dark corners. The base frame captures midtones. Blended, the HDR merge produces a single image that encompasses a tonal range no single exposure could capture.
Window pull: the visual difference-maker
The most visually important element of HDR real estate photography is window pull. It’s the process of blending the actual exterior view through windows into the interior HDR so windows show the yard, garden, street, or sky rather than a blown-out white rectangle.
Blown-out windows are the single most common complaint from real estate agents about listing photography. A window that’s a pure white rectangle doesn’t just look bad — it actively pulls the viewer’s eye to the problem area and makes the room feel smaller and less desirable. A window that shows a real view of the outdoors creates visual depth, connects the interior to the exterior, and makes the room feel brighter, more open, and larger.
For properties with exceptional views — ocean, lake, mountain, skyline — window pull is critical. A listing photo showing a Pacific Ocean view through a living room window is dramatically more compelling than the same photo with blown-out white where the ocean should be. AI HDR merge handles window pull automatically when brackets are properly shot.
Common HDR artifacts and how AI avoids them
Traditional HDR processing software produces characteristic artifacts when used aggressively or when the scene has motion (leaves, plants, moving people). These artifacts are why HDR developed a poor reputation in its early days — over-processed images with bright halos around every edge, unnatural saturation, and a surreal painterly quality.
Halo artifacts
Halos appear as bright or dark edges along high-contrast boundaries — rooflines against sky, window frames against wall, furniture edges against carpet. They’re caused by tone-mapping algorithms that over-correct local contrast at edges. AI HDR merge is trained on real-estate photography specifically and optimized to prevent halos while still producing contrast-rich results.
Ghosting
When something moves between frames — a person, a tree branch, a ceiling fan — the movement creates a ghost. AI de-ghosting identifies and removes these artifacts automatically.
Over-saturation
Real estate photography requires a natural, realistic look — not the surreal HDR aesthetic that was popular in travel and landscape photography circa 2010. AI HDR merge is calibrated to produce natural-looking output that reads as a well-exposed photograph, not an obviously processed composite.
The workflow advantage for high-volume photographers
For photographers shooting 10–25 listings per week, workflow efficiency is as important as output quality. Traditional HDR workflows are time-intensive: import brackets, run merges, correct artifacts, export — 1–2 hours per shoot.
AI HDR merge eliminates this bottleneck. Your post-production becomes: download cards, organize brackets by room, submit, receive finished images in under 30 minutes. No software to maintain, no manual editing time, no artifact correction. The delivered images are ready for client delivery without additional processing.
At $0.59 per image, the cost of AI HDR merge is significantly less than the hourly cost of your own time spent on manual HDR processing. For a 25-room shoot, outsourcing HDR saves 45–90 minutes of editing time and delivers results in under 30 minutes.